For the wedding, I wanted Bean to match the rest of us in the family who were in it. I looked everywhere online for the perfect dress. I had thought I found one but once it arrived the Tuesday before the wedding, I noticed it was way too light of a purple to match the rest of us even remotely.
 |
| Here's a shot of the dress. The sandal in front was the color of my dress and the sash for Peanut's Flowergirl dress. |
So I had a thought... (which is never a good thing). I figured I could put some black tulle around the skirt and do something fancy with the top to 'darken' the purple shade. So out came the seam ripper. I pulled out the hem between the bodice and the skirt but left it stitched together on the inside. I measured two pieces of tulle for the front and back portions of the skirt and sewed the sides together. The fabric I had purchased already had a sewn edge that I used for the bottom. Once the sides were sewn, I attached the top to the skirt piece and rehemmed the line around, making sure not to stitch over where the button flap went. I also cut around where the dress opened on the back so that we could get it over Bean's head.
 |
| Here's the dress with the black tulle around the skirt (photo taken on my phone which is why the color is off) |
I was stuck for a bit attempting to figure out what to do with the dress top. I knew I'd attach a new ribbon around the bottom of the bodice but aside from that, I was lost. I posted on my FaceBook and had several friends reply. I wanted to make a puff sleeve out of the tulle, and even got so far as to make the full template. Unfortunately, I didn't have enough time to complete the sleeves and get a decent night's sleep.
Instead, I doubled up the tulle and wrapped it around the top, sewing it over the ribbon and around the neckline and arm holes. I made sure to pin everything down and still 'cut corners' so I ran out of some fabric on the back. Luckily it was on the part that would be covered by the button. After I sewed the tulle, I grabbed some ribbon. The purple I had found wasn't the right color so I managed to have some sheer black and overlaid it. The color was perfect, but now it meant I needed to sew two ribbons on. Sigh, I am a glutton for punishment it seems!
 |
| Here's the two different ribbon colors. See how the black makes the purple slightly darker? |
|
|
I started by sewing the ribbon along the backing where the top came
together. Then, I sewed the ribbon around the middle, between the
bodice and the skirt. Next, I sewed around the neck line, and finally,
sewed the arm holes. That was the trickiest part, since the arms were
too small to have the fabric go around the sewing machine! But I loved
the outcome and received numerous compliments. I was even impressed
that I managed to make it so cute (not to toot my own horn too loud)!
 |
| Bodice |
 |
| Ribbon along the bodice/skirt line |
 |
| Arm hole |
 |
| Neckline |
 |
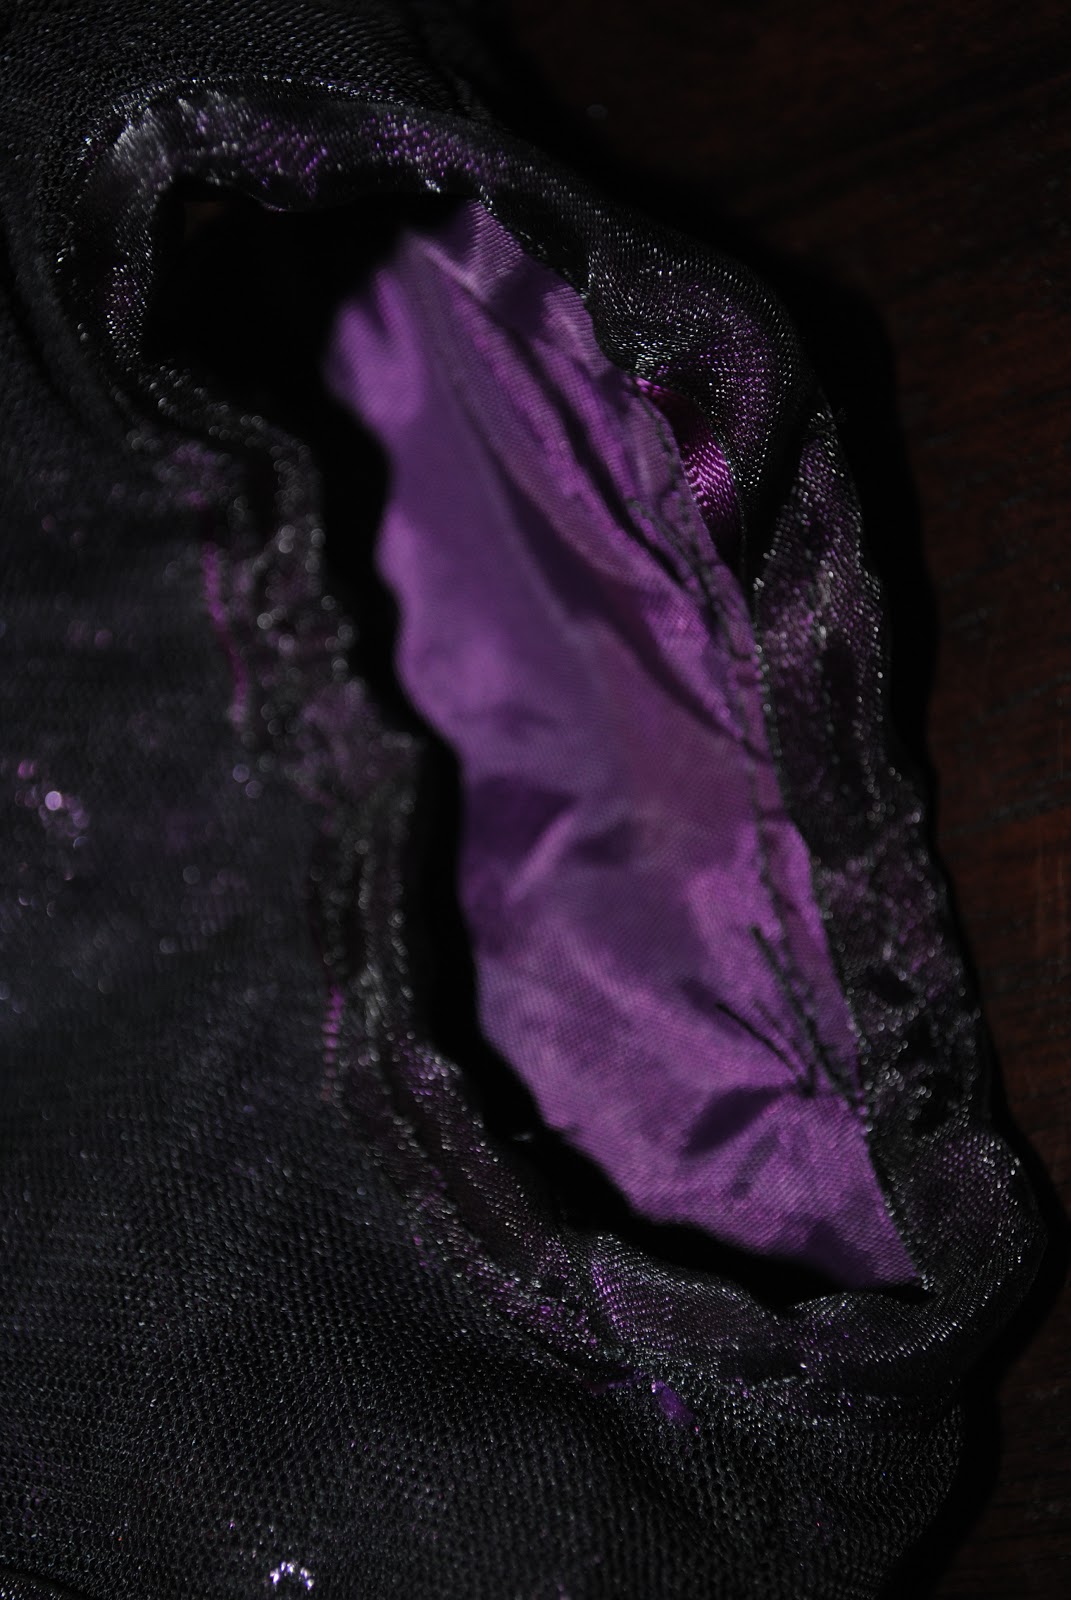
| Back button (see where I missed the tulle overlay? oops) |
 |
| The bottom of the skirt |
 |
| Overall dress |


No comments:
Post a Comment